Most people will agree that weddings are special. It is an extraordinary moment worth reliving every day. To remind you of how beautiful that day is, there are many ways to preserve wedding memories. Aside from photo albums, another creative way to immortalize your wedding moments is through a calendar. Clueless about how to make a DIY wedding calendar? Learn some tips in this short article.
1. Get Help from the Pros
Be honest about your skills. If you know that the calendar will end up being a disaster, why not entrust the task to the pros instead? For the best calendar maker, you can never go wrong with Shutterfly. They have a competent design team to take care of everything for you. Alternatively, you also have the freedom to choose your template. Coordinate with their designers to come up with a wedding calendar that brings your idea to life without doing much of the work.
If you need inspiration for the design of your wedding calendar, check out Shutterfly.com.
2. Choose a Material
When making your wedding calendar, one of the most important considerations is the material you will use. Most people will use a traditional photo paper. Make sure that the color won’t fade. The material should also complement the colors of the calendar, especially of the photos you will use. Canvas is a good alternative if you want to be more unique. It also good because of its distinct texture.
3. Pick the Best Photos
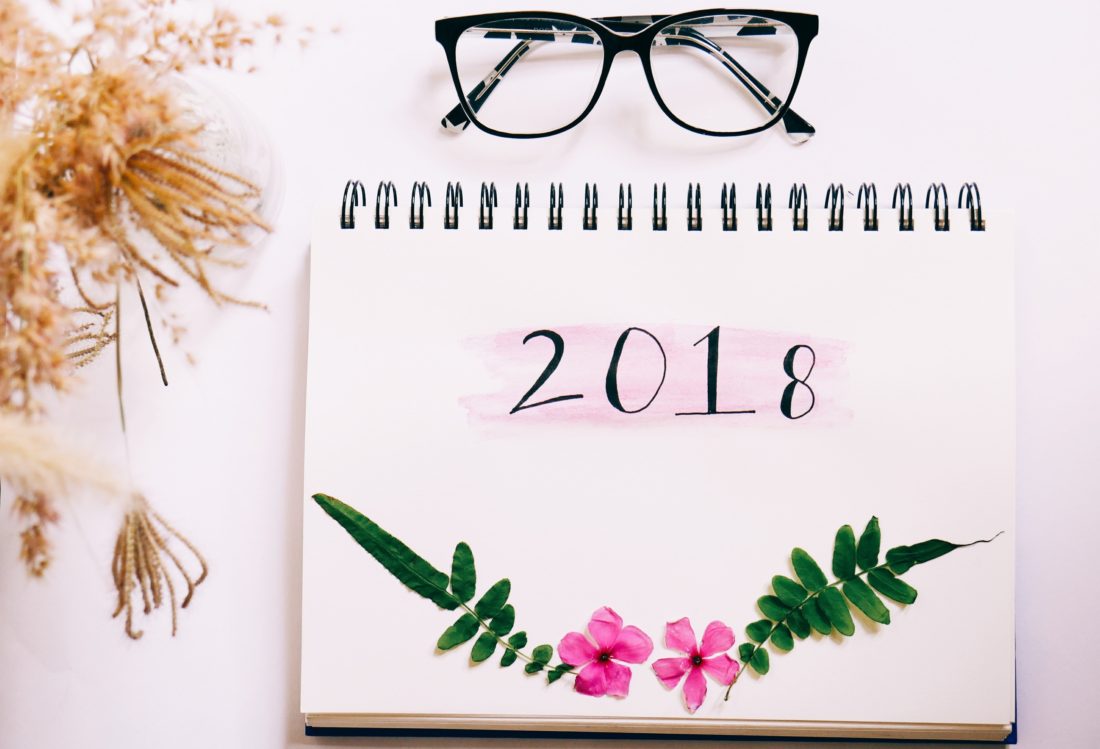
For creative DIY calendar ideas, start by sorting out the photos to include in your wedding calendar. If you want to incorporate a lot of photos, we suggest that you create a calendar with a 12-month layout wherein each month is on a different page. If it is a large calendar with all dates on one page, it is more challenging to find the best shots to incorporate into the layout.
4. Mind the Layout
Clutter will minimize the aesthetic value of your DIY calendar. This makes it important to emphasize the layout. Make sure that there is enough white space between texts and graphics. Otherwise, the calendar will be an eyesore instead of adding a decorative element wherever you intend to put it. It will also be good to have some space to jot down notes in the calendar.
5. Complete It With a Base
If you plan to create a standing or easel-type wedding calendar, one of the must-haves is the base. This will hold the calendar, making sure that it stands on its own at the top of a table. The most common material of choice is a slab of wood with a slot in the middle to hold the calendar in place. Choose a darker color if the calendar has a light shade.
Preserve your wedding memories with a DIY calendar! It is a little art project that you can do even on your own! It just takes a little creativity to do things right!